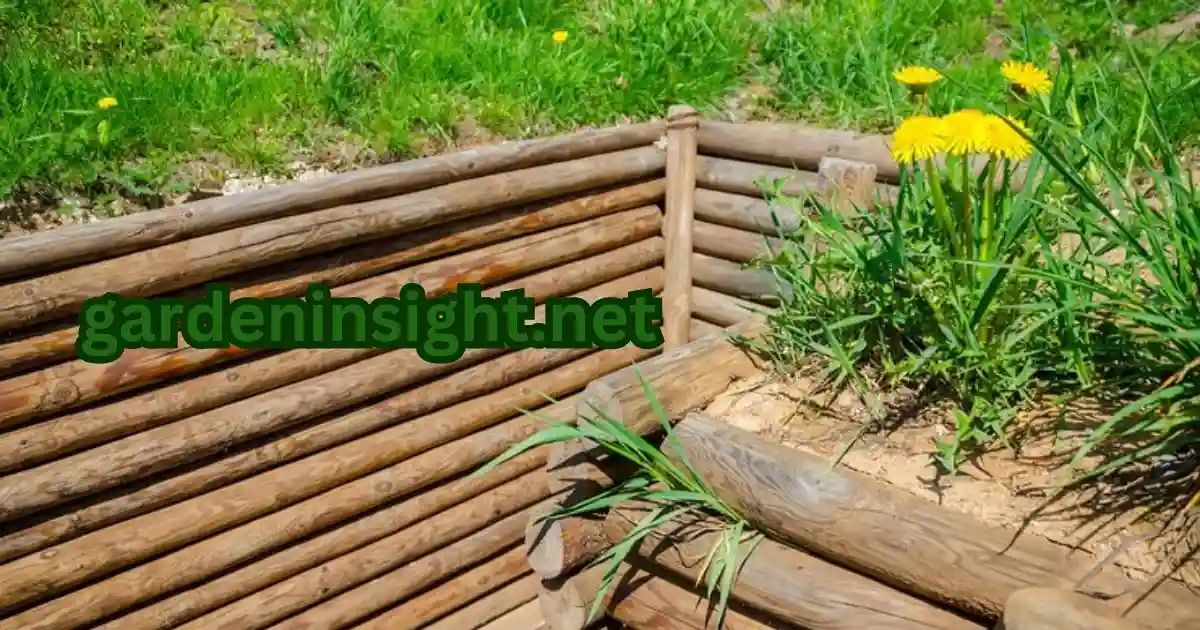
Garden edging provides a clean and defined boundary between different areas of your garden, adding structure and visual appeal.
Railway sleepers, with their rustic charm and robust nature, have become a popular choice for creating attractive and long-lasting garden edging.
This guide provides a step-by-step approach to laying sleepers for garden edging, ensuring a successful and satisfying DIY project.
How long do sleepers last when used for garden edging?

Treated sleepers can last for many years, even decades, with proper care and maintenance. Regular application of wood preservative can significantly extend their lifespan.
To Install Timber Sleeper Garden Edging
The process for installing timber sleeper garden edging is the same as outlined in the main guide. Ensure you choose the appropriate type of timber for your needs and treat it with a suitable preservative.
To install pine sleeper garden edging
Pine sleepers are a popular choice for garden edging due to their affordability. Follow the same steps as outlined in the main guide, but be sure to treat the pine sleepers with a preservative to protect them from rot and insect damage.
Planning Your Sleeper Edging
Before you begin, careful planning is essential for achieving the desired outcome.
Measure Your Space
Accurately measure the area where you intend to install the sleeper edging. This will determine the number of sleepers required and help you plan the layout. Consider the desired height of the edging and whether you’ll use the sleepers vertically or horizontally.
Choose Your Sleepers
Railway sleepers come in various types of wood, including hardwood and softwood. Hardwood sleepers, like oak, are more durable but also more expensive. Softwood sleepers, such as pine, are a more budget-friendly option but may require more frequent treatment to prolong their lifespan. When selecting sleepers, consider factors like the desired aesthetic, budget, and the overall style of your garden.
Mark the Area
Once you have your measurements and materials, use string and stakes to mark the desired line of your edging. This will serve as a guide when laying the sleepers. Ensure the line is straight and accurately reflects your planned design.
Preparing the Ground

Proper ground preparation is crucial for the stability and longevity of your sleeper edging.
Clear the Area
Remove any existing vegetation, rocks, or debris from the area where you’ll be laying the sleepers. This ensures a level and stable base for your edging.
Level the Ground
Use a spade and rake to level the ground along the marked line. This is important to prevent the sleepers from tilting or shifting over time.
Create a Trench (Optional)
If you want the sleepers to sit partially below ground level, dig a trench deep enough to accommodate the desired depth. This adds stability and creates a more integrated look. Remember to factor in the depth when calculating the number of sleepers needed.
Laying the Sleepers
With the ground prepared, you can now start laying the sleepers.
Position the First Sleeper
Place the first sleeper in the trench or along the marked line. Use a spirit level to ensure it’s level both horizontally and vertically. Adjust the ground beneath as needed to achieve a stable and level position.
Secure the Sleepers
There are several ways to secure sleepers for garden edging:
- Wooden Stakes: Drive wooden stakes into the ground behind the sleepers and secure them with screws or nails.
- Metal Spikes: Use heavy-duty metal spikes to anchor the sleepers to the ground.
- Concrete: For added stability, especially in areas with soft soil, set the sleepers in concrete.
Add Subsequent Sleepers
Continue placing the sleepers one by one, ensuring they are level and aligned with the previous sleeper. Use spacers to maintain consistent gaps between the sleepers if desired.
Backfill and Compact
Once all sleepers are in place, backfill the trench or the area around the sleepers with soil. Compact the soil firmly to provide additional support and stability.
Finishing Touches

To complete your sleeper edging project and enhance its longevity, consider these finishing touches:
Apply a Protective Treatment
Apply a wood preservative or sealant to protect the sleepers from moisture, insects, and rot. This will help extend their lifespan and maintain their appearance.
Add Decorative Elements
Consider adding decorative elements like gravel, pebbles, or plants around the base of the sleeper edging to enhance its visual appeal and create a more finished look.
Tools Needed to Lay Sleepers for Garden Edging
- Measuring tape
- String and stakes
- Spade
- Rake
- Spirit level
- Hammer or drill
- Screws or nails
- Saw (if cutting sleepers)
- Wood preservative
How deep should sleepers be buried for garden edging?
The depth depends on the desired height and stability of the edging. A general guideline is to bury at least one-third of the sleeper’s height for adequate support.
Treated Sleepers for Garden Edging

Treated sleepers are a good choice for garden edging as they are more resistant to rot and insect damage. However, be sure to choose sleepers that are treated with a preservative that is safe for use around plants and pets.
Best Way to Cut Sleepers for Garden Edging
A circular saw or chainsaw is the most efficient tool for cutting sleepers. Ensure you wear appropriate safety gear when operating these tools.
To Create a Straight Line When Laying Sleepers for Edging
Use string and stakes to mark a straight line before you start laying the sleepers. This will serve as a guide to ensure your edging is aligned.
Benefits of Using Sleepers For Garden Edging
- Durability: Sleepers are strong and long-lasting.
- Natural Look: They blend well with the garden environment.
- Versatility: They can be used to create various edging styles.
- Cost-effective: Compared to some other edging materials, sleepers can be a budget-friendly option.
Conclusion
Laying sleepers for garden edging is a rewarding DIY project that can significantly enhance the beauty and functionality of your outdoor space.
By following this comprehensive guide, you can achieve professional-looking results while enjoying the process. Remember to plan carefully, prepare the ground properly, and choose the right materials and securing methods for your specific needs.
With proper care and maintenance, your sleeper edging will provide years of enjoyment and add a touch of rustic charm to your garden.
FAQs
Some of the frequently inquired questions regarding ways to lay sleepers for garden edging are given as:
How to install timber sleeper garden edging?
Prepare the area, dig a trench, lay the sleepers, and secure them using stakes or screws for stability.
How to install pine sleeper garden edging?
Follow the same steps as timber sleepers but apply a wood sealant to enhance durability.
How do I secure sleepers for garden edging?
Use wooden stakes or metal pins and connect adjacent sleepers with screws.
What tools do I need to lay sleepers for garden edging?
Tools like a spirit level, saw, drill, and measuring tape are essential.
How deep should sleepers be buried for garden edging?
Bury sleepers 2-4 inches deep for light edging or 6-8 inches for heavy support.
