Soil testing is a crucial step for any gardener aiming to create a thriving garden. Knowing how to test soil for gardening helps you understand its composition, nutrient levels, and pH balance, which are vital for plant health.
Healthy soil for gardening is the foundation of a thriving garden. Just like us, plants need the right nutrients in the right amounts to grow strong and produce delicious fruits, vegetables, and beautiful flowers.
But how do you know what your soil needs? The answer is simple: soil testing. This guide covers everything you need to know, from testing methods to interpreting results, ensuring your garden flourishes.
What Does a Soil Test Tell You?

A soil test provides valuable information about the soil’s composition. Here are the key factors assessed in a soil test:
Factor | Description |
|---|---|
| pH Level | Indicates soil acidity or alkalinity, affecting nutrient availability. |
| Nutrient Levels | Measures macronutrients (N, P, K) and micronutrients (Fe, Zn). |
| Organic Matter | Assesses the amount of decomposed plant and animal material, crucial for soil health. |
| Soil Texture | Identifies the proportions of sand, silt, and clay, impacting drainage and aeration. |
Importance Of Testing Soil for Gardening
Understanding the importance of testing of soil for gardening is fundamental for successful gardening. Here are some reasons why soil testing matters:
- Nutrient Management: Soil tests reveal nutrient deficiencies or excesses, allowing you to amend your soil accordingly.
- pH Balance: Different plants thrive in specific pH ranges. Testing helps you adjust the soil pH to optimal levels.
- Disease Prevention: Healthy soil can prevent diseases and pests. Testing helps maintain a balanced ecosystem.
- Cost-Effective: By knowing exactly what your soil needs, you avoid wasting money on unnecessary fertilizers and amendments.
Different Ways to Test Soil For Gardening
There are a few different ways you can test your soil for gardening:
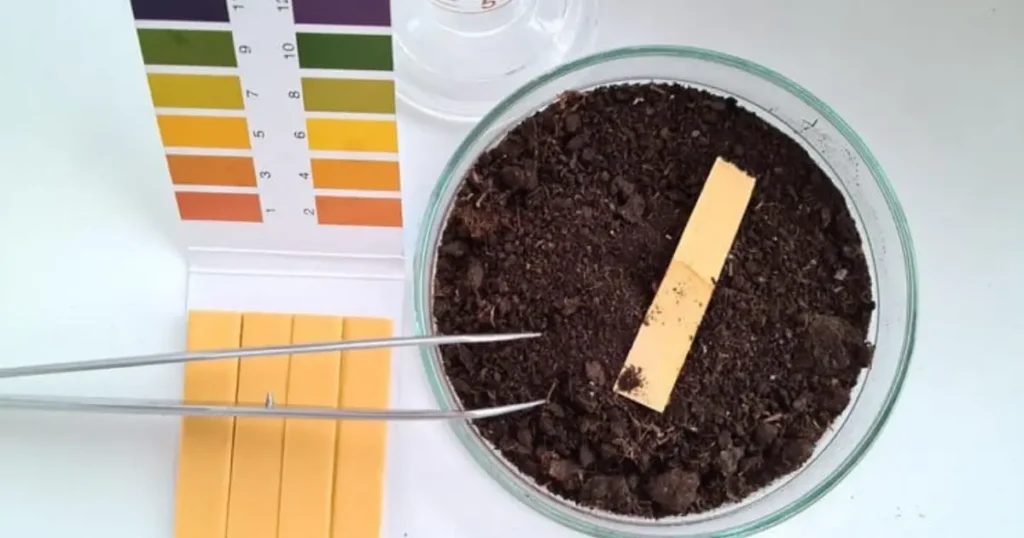
- Home Soil Test Kits: These are easy-to-use kits you can find at most garden centers. They usually come with simple instructions and color charts to help you understand the results. Some popular options include:
- Rapitest Soil Test Kit: This kit tests for pH, nitrogen, phosphorus, and potassium.
- Luster Leaf 1601 Rapitest Soil Test Kit: This kit offers a wider range of tests, including soil pH, nitrogen, phosphorus, and potash.
- Whitetail Institute Laboratory Soil Test Kit: This kit provides a more comprehensive analysis, including micronutrients and organic matter.
- DIY Soil Testing Methods: For a quick check, you can try some simple DIY methods:
- Vinegar Test for pH: Mix a soil sample with vinegar. If it fizzes, your soil is alkaline.
- Baking Soda Test for pH: Mix a soil sample with baking soda and water. If it fizzes, your soil is acidic.
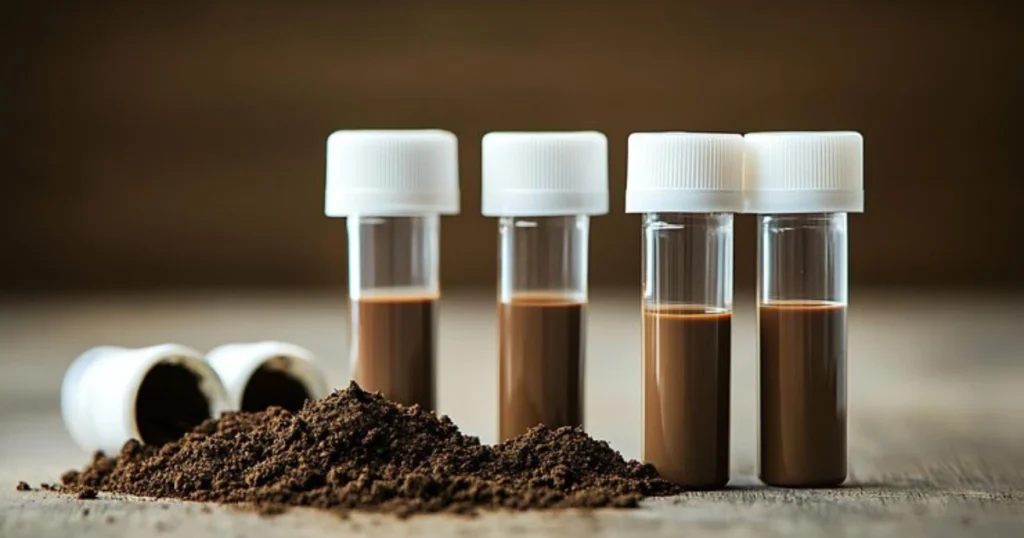
- Jar Test for Soil Texture: Fill a jar with soil and water, shake it up, and let it settle. This will show you the different layers of sand, silt, and clay in your soil.
- Professional Soil Testing: For the most accurate and detailed information, you can send a soil sample to a professional lab. They will provide you with a comprehensive report on your soil’s health.
How Often Should I Test My Soil for Gardening?
Frequency of testing of soil for gardening depends on several factors, including the type of plants grown and soil conditions. Here are some general guidelines:
| Factor | Recommended Testing Frequency Of Soil For Gardening |
|---|---|
| New Gardens | Test before planting |
| Established Gardens | Every 2-3 years |
| Heavy Fertilizer Use | Annually |
| Changes in Plant Health | When signs of deficiency appear |
Kits for Testing Soil For Gardening
Using soil testing kits is an accessible way to analyze your soil for gardening. There are two main types of kits:
- DIY Kits: These are available at garden centers and online. They typically include pH test strips and nutrient testing solutions.
- Laboratory Kits: These involve sending soil samples to a lab for a comprehensive analysis. They provide detailed reports on nutrient levels, pH, and more.
Advantages of Using Soil Testing Kits
- Convenience: Many kits allow for quick results at home.
- Cost-Effective: Generally cheaper than lab testing, especially for small gardens.
- Immediate Feedback: Get instant results for quick decision-making.
Understanding Soil pH for Plants

Soil pH affects nutrient availability and microbial activity. Most garden plants thrive in a pH range of 6.0 to 7.0. Here’s how different pH levels influence plant health:
| pH Level | Impact on Plants |
|---|---|
| Below 6.0 | Nutrient deficiencies, particularly of nitrogen and phosphorus. |
| 6.0 – 7.0 | Ideal range for most garden plants. |
| Above 7.0 | Nutrient lockout, especially for iron, leading to chlorosis. |
How to Adjust Soil pH
- Lowering pH: Add elemental sulfur or organic matter.
- Raising pH: Incorporate lime or wood ash.
DIY Testing Of Soil For Gardening
You can perform basic soil tests at home using common household items. Here are two simple methods:
pH Test with Vinegar and Baking Soda
- Collect Soil Sample: Take a small amount of soil from your garden.
- Test for Acidic Soil: Add vinegar to the soil. If it fizzes, your soil is alkaline.
- Test for Alkaline Soil: Add baking soda to a separate soil sample mixed with water. If it fizzes, your soil is acidic.
Nutrient Test with Water and Soil
- Mix Soil with Water: Combine equal parts of soil and water in a container.
- Let Settle: After a few hours, observe the water clarity. Cloudy water may indicate nutrient richness.
Where Can I Test My Soil For Gardening?
You can get your soil tested through various avenues:
- Local Cooperative Extension Services: Many regions offer soil testing services at low costs.
- Private Laboratories: These provide detailed analyses and often offer more comprehensive results.
- Garden Centers: Some garden centers have soil testing services or kits available for purchase.
How Much Does a Soil Test Cost?
The cost of soil testing varies based on the method used:
| Method | Average Cost |
|---|---|
| DIY Soil Testing Kits | $10 – $30 |
| Local Cooperative Extension | $10 – $50 |
| Private Laboratory Testing | $20 – $100+ |
Interpreting Soil Test Results
Once you receive your soil test results, understanding them is crucial for effective gardening. Here’s how to interpret key elements:
- pH Level: Adjust based on plant needs.
- Nutrient Levels: Look for any deficiencies or excesses; adjust fertilizer use accordingly.
- Organic Matter Content: Aim for at least 5% for optimal health.
Sample Soil Test Report
| Component | Value | Interpretation |
|---|---|---|
| pH | 6.5 | Ideal for most garden plants |
| Nitrogen (N) | 15 ppm | Sufficient for leafy plants |
| Phosphorus (P) | 25 ppm | Slightly high; avoid excess fertilizers |
| Potassium (K) | 100 ppm | Good level for plant health |
Nutrient Levels in Soil

Understanding nutrient levels in soil for gardening helps you provide the right care for your plants. Here’s a breakdown of essential nutrients:
| Nutrient | Function in Plants | Sources |
|---|---|---|
| Nitrogen (N) | Promotes leafy growth | Compost, manure, nitrogen fertilizers |
| Phosphorus (P) | Supports root development and flowering | Bone meal, rock phosphate |
| Potassium (K) | Enhances overall plant health and disease resistance | Kelp meal, wood ash |
How Do I Collect a Soil Sample for Testing?
No matter which testing method you choose, it’s important to collect a good test sample of soil for gardening. Here’s how:
- Gather your tools: You’ll need a clean trowel or spade, a clean bucket, and a plastic bag.
- Choose your spots: Take samples from different areas of your garden, especially where you plan to plant different types of plants.
- Dig down: Dig a small hole about 6 inches deep.
- Take a slice: Take a thin slice of soil from the side of the hole.
- Repeat: Collect several samples from different spots in your garden.
- Mix it up: Combine all the samples in your bucket and mix them well.
- Bag it: Put some of the mixed soil in a plastic bag and label it clearly.
| Step | Description |
|---|---|
| 1 | Gather tools (trowel, bucket, bag) |
| 2 | Choose sampling spots |
| 3 | Dig 6-inch holes |
| 4 | Take thin soil slices |
| 5 | Collect multiple samples |
| 6 | Mix samples in a bucket |
| 7 | Bag and label the soil |
What Is the Best Time of Year to Test Soil?
The best time to test your soil for gardening is during the fall or spring. Testing in fall allows you to amend the soil before winter, while spring testing gives you time to prepare for planting. Avoid testing when the soil is overly wet or frozen.
How Do I Improve My Soil Based on the Test Results?
Improving your soil based on test results is key to a successful garden. Here’s how to make adjustments:
- Nutrient Deficiencies: Apply the appropriate fertilizers based on your test results.
- pH Adjustments: Use sulfur or lime to adjust pH levels as needed.
- Organic Matter: Increase organic matter by adding compost or aged manure.
- Soil Structure: Improve drainage and aeration by incorporating coarse sand or perlite if needed.
Conclusion
Testing your soil for gardening is an essential practice for your garden success. By understanding how to test soil for gardening, you gain insights into its health and needs.
Regular testing not only helps you manage nutrients and pH but also prevents potential issues in your garden. With the right information and tools, you can create a flourishing environment for your plants, ensuring they thrive year after year.
Investing time in soil testing will lead to healthier plants, more abundant harvests, and a more enjoyable gardening experience.
FAQs
What does a soil test tell you?
A soil test reveals pH levels, nutrient availability, organic matter content, and soil texture, providing insight into soil health.
How often should I test my soil for gardening?
Test every 2-3 years for established gardens, annually for heavy fertilizer use, or when plant health issues arise.
How do I collect a soil sample for testing?
Collect samples from various locations, remove debris, dig 6-8 inches deep, mix, label, and store until testing.
Where can I get my soil tested?
You can get soil tested through local extension services, private laboratories, or purchase DIY testing kits from garden centers.
How do I improve my soil based on the test results?
Adjust nutrients with fertilizers, modify pH with sulfur or lime, and increase organic matter with compost or aged manure.
