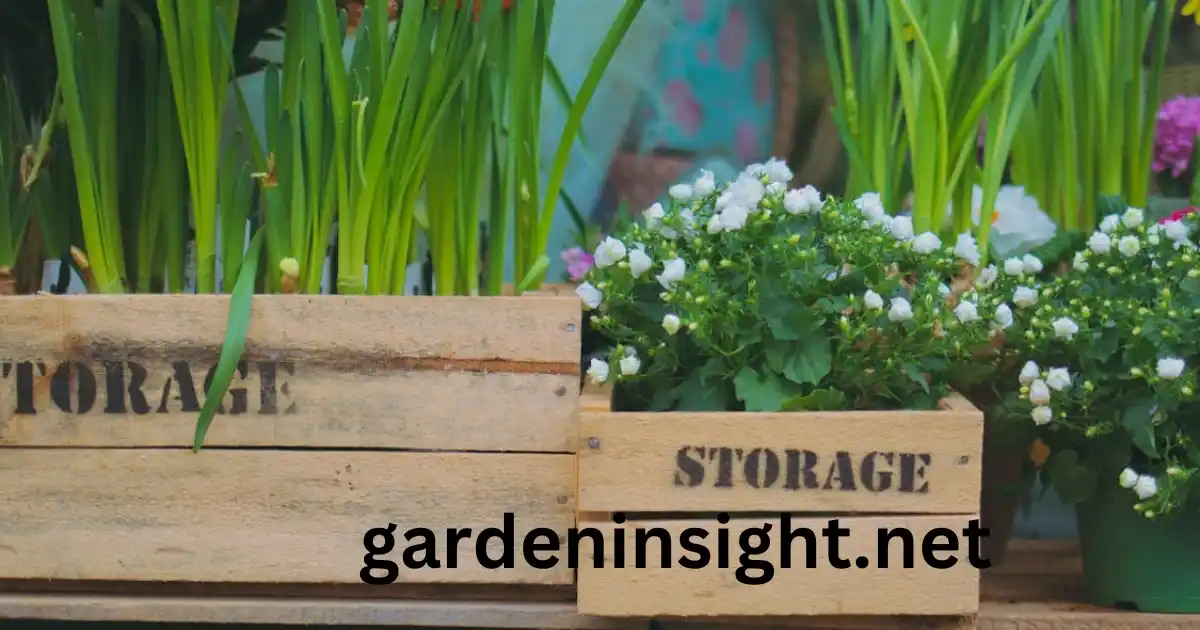
One of the most versatile and practical additions to any garden is the humble raised garden box. These customizable containers provide the perfect environment for growing a variety of plants, vegetables, and herbs.
Whether you’re a seasoned green thumb or a budding gardener, learning how to build your own boxes for gardening can unlock a world of possibilities.
DIY Construction of boxes for gardening
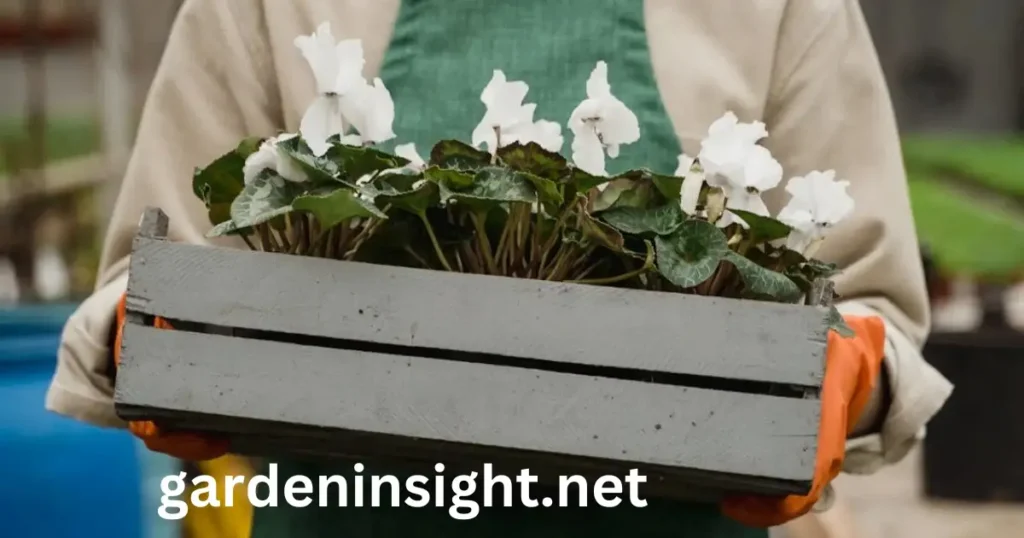
Constructing your own garden boxes allows you to tailor the size, shape, and materials to suit your specific needs and preferences. This section will guide you through the step-by-step process of building sturdy, long-lasting garden boxes.
Selecting the Right Materials
The foundation of a successful garden box lies in the materials you choose. Common options include:
- Untreated Lumber: Cedar, redwood, and cypress are popular choices for their natural resistance to rot and pests.
- Pressure-Treated Wood: While effective in preventing decay, it’s important to research any potential health concerns with treated lumber.
- Composite Materials: Composite boards made from recycled plastic and wood fibers offer a durable, low-maintenance option.
When selecting your materials, consider factors such as budget, desired appearance, and the intended lifespan of your garden boxes.
Step-by-Step Garden Box Assembly
- Measure and Cut the Lumber: Determine the desired dimensions of your garden box and cut the lumber to size accordingly. Plan for a slightly larger box to account for the thickness of the wood.
- Assemble the Sides: Lay out the side panels and attach them together using screws or nails. Ensure the corners are square and the sides are level.
- Add the Bottom: Measure and cut the bottom panel to fit inside the side walls. Secure the bottom in place, making sure it is level.
- Reinforce the Corners: For added stability, consider adding corner braces or supports. This will help your garden box withstand the weight of soil and plants.
- Finish with the Top: Measure and cut the top frame, then attach it to the sides. This creates a sturdy rim around the perimeter of your garden box.
- Smooth the Edges: Use sandpaper or a wood file to gently smooth any rough edges or splinters, ensuring a safe, comfortable interaction with your garden box.
- Apply a Protective Sealant (Optional): If desired, apply a water-based sealant or stain to the exterior of your garden box. This will help protect the wood from weathering and extend its lifespan.
By following these steps, you can create a durable, customized garden box that will serve as the foundation for your thriving outdoor oasis.
Best Materials for Building Garden Boxes
When it comes to constructing garden boxes, the choice of materials can significantly impact the longevity and performance of your setup. In this section, we’ll explore some of the best options to consider.
Untreated Lumber
Untreated lumber, such as cedar, redwood, and cypress, are renowned for their natural resistance to rot and pests. These materials offer a long-lasting solution that can withstand the elements without the need for chemical treatments.
Pressure-Treated Wood
Pressure-treated wood is another popular option, as it is treated with preservatives to enhance its resistance to decay, insects, and fungal growth. However, it’s crucial to research any potential health concerns associated with treated lumber, as some preservatives may be a cause for concern.
Composite Materials
Composite boards, made from a blend of recycled plastic and wood fibers, provide a low-maintenance alternative to traditional wood. These materials are highly durable, resistant to weathering, and do not require regular staining or sealing.
When selecting the best material for your garden boxes, consider factors such as budget, desired aesthetic, and the intended lifespan of your project. Consulting with local hardware or gardening experts can also help you make an informed decision that aligns with your needs and preferences.
Wooden Plans for boxes for gardening
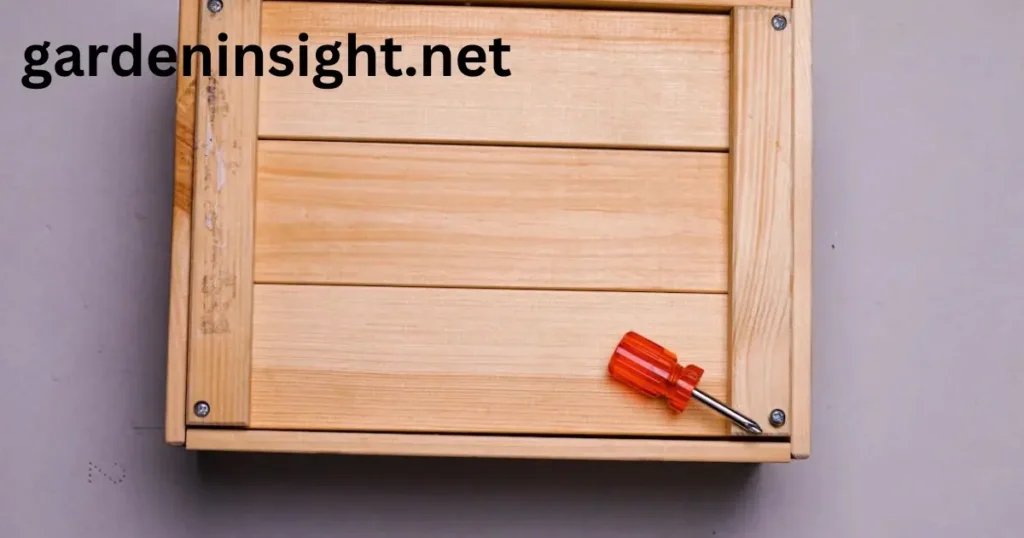
While the process of building garden boxes can seem daunting, having access to pre-designed plans can make the task much more manageable. In this section, we’ll explore some popular wooden garden box plans to inspire your next project.
Raised Garden Bed Plan
This classic raised garden bed plan features a simple, rectangular design that can be easily customized to fit your available space. The plan includes step-by-step instructions for constructing a sturdy, long-lasting box using untreated cedar lumber.
Corner boxes for gardening plan
For gardeners with limited space, a corner garden box plan can be an excellent solution. This design utilizes the often-underutilized corners of your yard, creating a compact yet functional growing area.
Tiered Plan for boxes for gardening
Incorporating multiple levels into your garden box design can maximize your vertical growing space. This tiered plan offers a visually appealing and space-efficient solution for those looking to cultivate a variety of plants.
Regardless of the specific plan you choose, the key to success lies in selecting high-quality materials, following the instructions carefully, and ensuring proper assembly and installation. By starting with a well-designed plan, you can streamline the building process and achieve professional-looking results.
Essential Tools in Building boxes for gardening
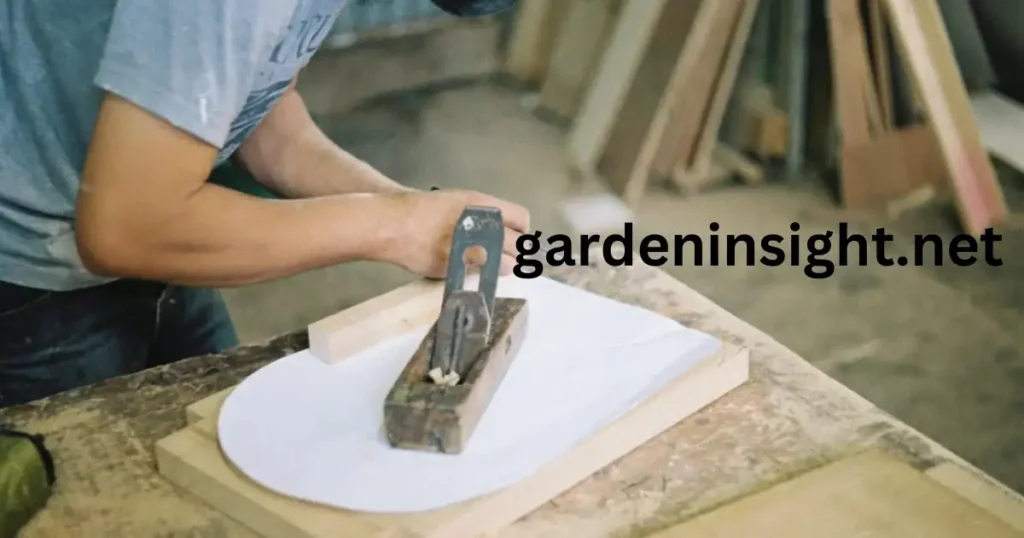
Constructing sturdy, long-lasting garden boxes requires the right tools for the job. In this section, we’ll explore the essential equipment you’ll need to bring your garden box project to life.
Saws
A reliable saw is the foundation of any garden box building project. Common options include:
- Hand Saw: For small-scale cuts and quick adjustments.
- Power Saw: Offers faster, more precise cutting for larger projects.
- Miter Saw: Ideal for making accurate angle cuts on wood.
Drills and Drivers
Secure fastening is crucial for the structural integrity of your garden boxes. You’ll need a high-quality drill and driver set, including:
- Drill: For drilling pilot holes and creating openings in the wood.
- Impact Driver: Provides the necessary torque for driving in screws and nails.
Measuring and Marking Tools
Precise measurements and markings are key to ensuring a perfect fit for your garden box components. Essential tools include:
- Tape Measure: For accurately measuring the dimensions of your garden box.
- Level: Helps ensure your garden box walls are straight and level.
- Pencil or Marker: For clearly marking cut lines and assembly points.
Hammers and Mallets
While not always necessary, having a hammer or mallet on hand can be helpful for tasks such as:
- Gently tapping joints into place
- Driving in wooden pegs or dowels
- Adjusting the positioning of your boxes for gardening components
By gathering this essential toolkit, you’ll be well-equipped to tackle the construction of your custom garden boxes with confidence and precision.
Drainage Tips for raised boxes for gardening
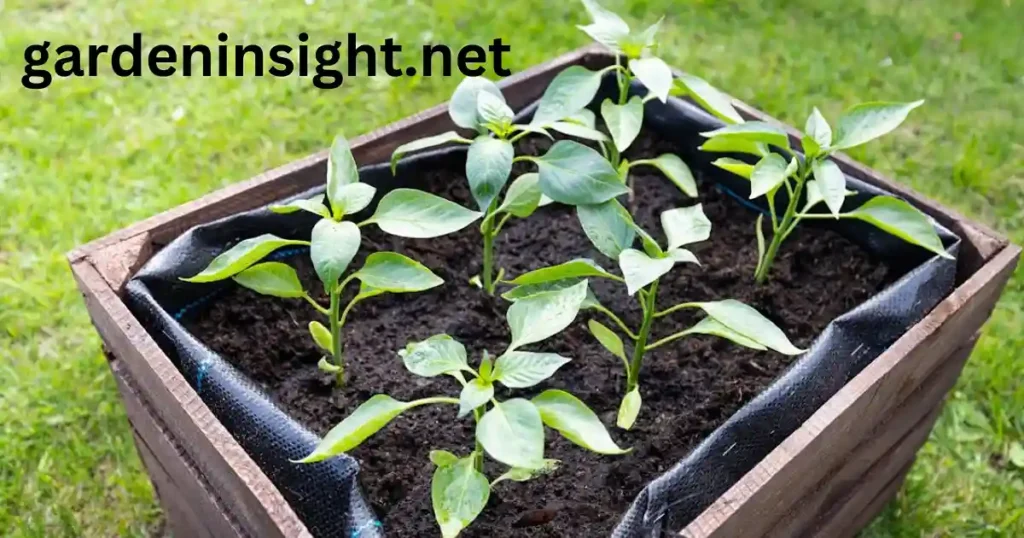
Proper drainage is crucial for the health and longevity of your garden boxes. Poorly drained soil can lead to a host of issues, including root rot, plant disease, and stunted growth. In this section, we’ll explore some key tips for ensuring optimal drainage in your raised garden boxes.
Selecting the Right Soil Mix for boxes for gardening
When filling your garden boxes, choose a well-draining soil mixture that combines compost, vermiculite, and other organic matter. Avoid using heavy, dense soils that can become waterlogged.
Incorporating Drainage Holes in boxes for gardening
Before assembling your garden box, drill several drainage holes in the bottom panel. This will allow excess water to effectively drain from the soil, preventing root rot and other moisture-related problems.
Elevating the boxes for gardening
Consider raising your garden box slightly off the ground, either by placing it on a platform or by adding legs to the base. This elevation promotes better drainage and prevents the box from sitting in standing water.
Adding a Gravel Layer boxes for gardening
Line the bottom of your garden box with a 2-3 inch layer of gravel or small stones. This creates a drainage reservoir, allowing water to filter through the soil and out of the box.
By following these drainage tips, you can ensure your garden boxes provide the optimal growing environment for your plants, effectively managing excess moisture and promoting healthy, thriving gardens.
Budget-Friendly boxes for gardening Ideas
Building custom garden boxes doesn’t have to break the bank. In this section, we’ll explore some budget-friendly ideas to help you create beautiful, functional growing spaces without sacrificing quality.
Repurposed Materials for boxes for gardening
Scour local salvage yards, construction sites, or even your own garage for materials that can be repurposed into garden boxes. Items like old pallets, reclaimed wood, or even cinder blocks can be transformed into unique, cost-effective containers.
DIY Designs of boxes for gardening
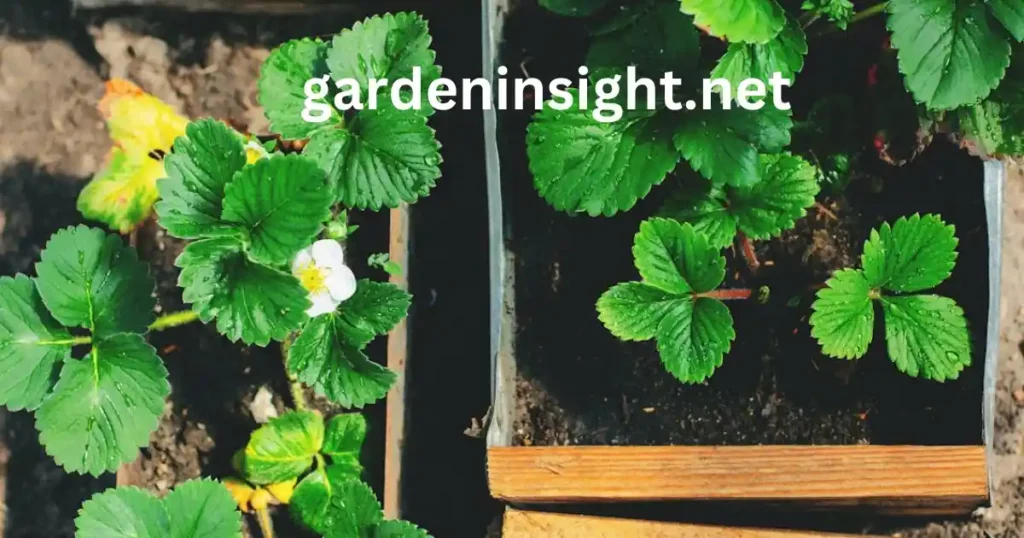
By designing and building your own boxes for gardening, you can save significantly compared to purchasing pre-made units. Utilize free online resources, such as DIY tutorials and woodworking plans, to guide you through the construction process.
Gradual Expansion of boxes for gardening
Rather than investing in a large, expensive boxes for gardening setup all at once, consider building your collection gradually. Start with a single box and add more as your budget and space allow, creating a customized garden that evolves over time.
Maximizing Vertical Space
Making the most of your available vertical space can be a game-changer for budget-minded gardeners. Incorporate tiered or stacked garden box designs to cultivate a variety of plants without consuming too much ground-level real estate.
By approaching your garden box project with creativity and resourcefulness, you can create beautiful, functional growing spaces that fit your budget and personal style.
Long-Lasting Garden Box Maintenance
Proper maintenance is the key to ensuring your garden boxes remain in top condition for years to come. In this section, we’ll explore the essential steps for preserving the longevity and functionality of your custom-built containers.
Routine Inspections of boxes for gardening
Regularly inspect your garden boxes for any signs of wear, damage, or deterioration. Look for cracks, warping, or loosening of the joints, and address any issues promptly to prevent further damage.
Cleaning and Refurbishing of boxes for gardening
Periodically clean your garden boxes to remove accumulated dirt, debris, and any potential pest infestations. Use a mild, eco-friendly cleaning solution and a soft-bristle brush to gently scrub the surfaces.
Resealing or Restaining of boxes for gardening
If your garden boxes were initially treated with a sealant or stain, reapply these protective coatings every 2-3 years to maintain their appearance and weather resistance.
Soil Replenishment ib boxes for gardening
Over time, the soil in your garden boxes will become depleted of nutrients. Replenish the soil annually by removing the top layer and adding a fresh mix of high-quality compost, fertilizer, and any necessary soil amendments.
Pest and Disease Management in boxes for gardening
Keep a watchful eye for any signs of pests or plant diseases, and address them promptly to prevent the spread of problems throughout your garden. Utilize organic pest control methods and disease-resistant plant varieties when possible.
By following these maintenance best practices, you can ensure your custom garden boxes continue to provide a thriving, long-lasting growing environment for your plants, vegetables, and herbs.
Conclusion
Creating your own boxes for gardening is a fantastic way to turn your outdoor space into a thriving and productive garden. When building your boxes for gardening, there are a few important things to keep in mind. Choosing the right materials for your boxes for gardening is essential.
How you put your boxes for gardening together is also important, and you’ll want to think about how to take care of your boxes for gardening so they last a long time. Whether you’re new to gardening or have a lot of experience, this guide will help you build amazing boxes for gardening.
You’ll learn how to choose the right materials and make sure water drains out of your boxes for gardening properly. This knowledge will help you design and build boxes for gardening that fit your needs perfectly. By following the advice in this article, you’ll be able to create a wonderful garden in your outdoor space using your own boxes for gardening.
FAQs
How deep should my boxes for gardening be?
The optimal depth for your boxes for gardening will depend on the types of plants you plan to grow. As a general guideline:
- Shallow-rooted plants (herbs, lettuce, etc.): 6-12 inches deep
- Medium-rooted plants (tomatoes, peppers, etc.): 12-18 inches deep
- Deep-rooted plants (carrots, potatoes, etc.): 18-24 inches deep
It’s important to ensure your boxes for gardening provide sufficient soil depth to accommodate the root systems of your chosen plants.
How do I ensure proper drainage in my boxes for gardening?
Proper drainage is essential for the health of your plants. To enhance drainage in your boxes for gardening:
- Incorporate a 2-3 inch layer of gravel or small stones at the bottom of the box
- Drill several 1/2-inch diameter drainage holes in the bottom panel
- Elevate the garden box slightly off the ground to promote water runoff
Additionally, use a well-draining soil mix that combines compost, vermiculite, and other organic matter in boxes for gardening.
What materials are commonly used to build boxes for gardening?
Wood, concrete blocks, plastic lumber, and galvanized metal are popular choices for building boxes for gardening.
What’s the best size for boxes for gardening?
The ideal size depends on your space and the types of plants you’ll grow, but aim for a width no greater than 4 feet for easy access.
How do I prepare the soil in my boxes for gardening?
Use a quality soil mix with topsoil, compost, and other organic matter. Ensure good drainage and amend the soil based on your plants’ needs.
Any creative ideas for building boxes for gardening?
Consider vertical gardens, tiered boxes, repurposed materials (like pallets), or even incorporating built-in seating around your boxes for gardening.
