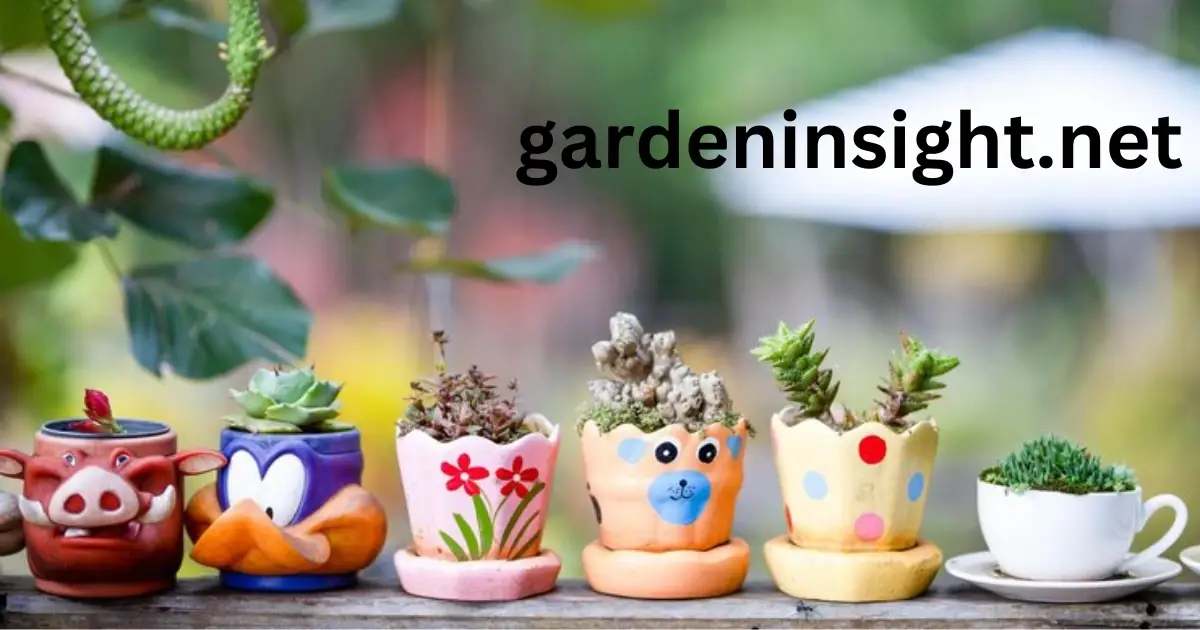
To paint clay pots is a fun and creative way to personalize your garden while adding a splash of color.
Whether you’re looking to create vibrant patterns or simple designs, painted clay pots can enhance the aesthetic of your outdoor spaces.
This guide covers everything you need to know about how to paint clay pots for gardening, from preparation to finishing touches, using safe and effective techniques.
Gathering Supplies To Paint Clay Pots
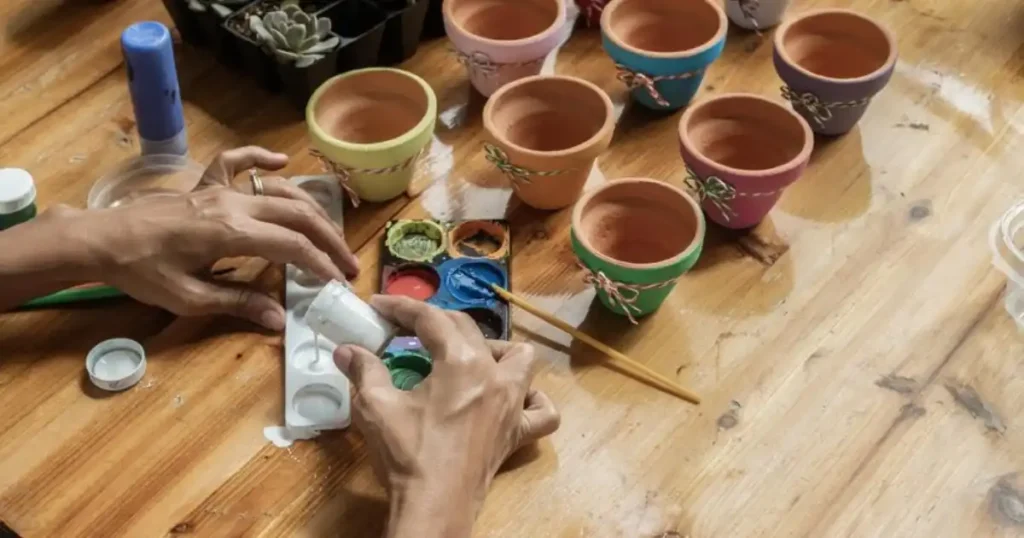
Before you begin your artistic journey, make sure you have the following materials ready:
- Clay Pots: Choose the size and shape you desire for your plants.
- Paints: Acrylic paints are an excellent choice for clay pots due to their durability and vibrant colors. Consider using paints specifically designed for outdoor use to ensure longevity. Here’s a table summarizing suitable paint types:
| Paint Type | Pros | Cons |
|---|---|---|
| Acrylic Paints | Versatile, durable, easy to clean | Can sometimes peel in extreme weather conditions |
| Outdoor Acrylic Paints | Designed for weather resistance, UV protection, fade-resistant | Might be slightly more expensive than regular acrylics |
| Chalk Paints | Matte finish, good adhesion | Can require more coats for full coverage |
| Spray Paints | Quick and even coverage, suitable for large pots | Requires good ventilation and can be messy |
- Brushes: A variety of brushes will be useful for different effects. Include small brushes for details and larger ones for base coats.
- Sealer: A sealant is crucial for protecting your painted design and making the pot waterproof.
- Primer: While optional, using a primer can improve paint adhesion and color vibrancy.
- Painter’s Tape: Useful for creating clean lines and patterns.
- Drop Cloths: Protect your work surface from paint spills.
- Water and Rags: For cleaning brushes and wiping away any mistakes.
- Sandpaper: Fine-grit sandpaper can be used to smooth any rough edges on the pot before painting.
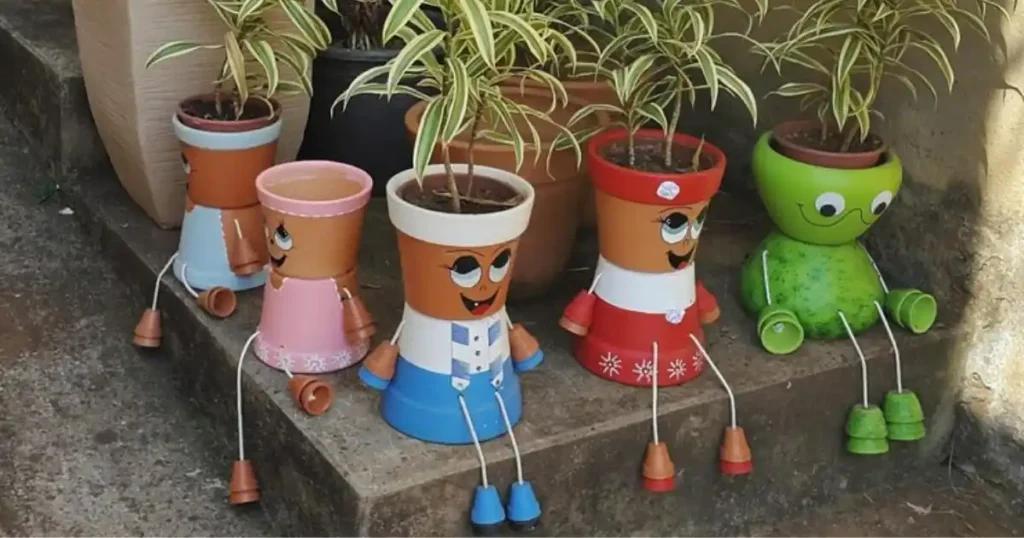
Traditional vs. Modern: Paint Clay Pots with Style
| Style | Description | Paint Clay Pots Techniques | Design Ideas | Best Paints for Clay Pots |
|---|---|---|---|---|
| Traditional | Classic and timeless designs often inspired by nature, culture, and history. | – Fine brushes for intricate details – Layering techniques – Stencils with traditional motifs | – Floral patterns – Folk art inspired designs – Geometric patterns with cultural significance – Earthy color palettes | – Acrylic paints – Milk paint (for a more natural look) |
| Modern | Contemporary and minimalist designs with clean lines and bold colors. | – Painter’s tape for sharp edges – Spray paint for even coverage – Geometric stencils – Abstract techniques | – Color blocking – Minimalist line art – Geometric shapes – Bold and contrasting colors – Ombre effects | – Acrylic paints – Spray paints – Chalk paint (for a matte finish) |
To Paint Clay Pots: Traditional and Modern Styles
- Prepare your clay pots: Clean the pots thoroughly and apply a primer for better paint adhesion.
- Choose the right paint: Use high-quality acrylic paints for durability and vibrancy.
- Seal your painted clay pots: Apply a sealant to protect your artwork from the elements.
- Experiment with different techniques: Try sponging, dry brushing, or splattering for unique textures.
- Personalize your designs: Add your own creative flair to make your pots truly unique.
Remember: The best way to paint clay pots is the way that brings you joy and complements your garden style. Have fun exploring different traditional and modern paint ideas!
To Paint Clay Pots: Preparation
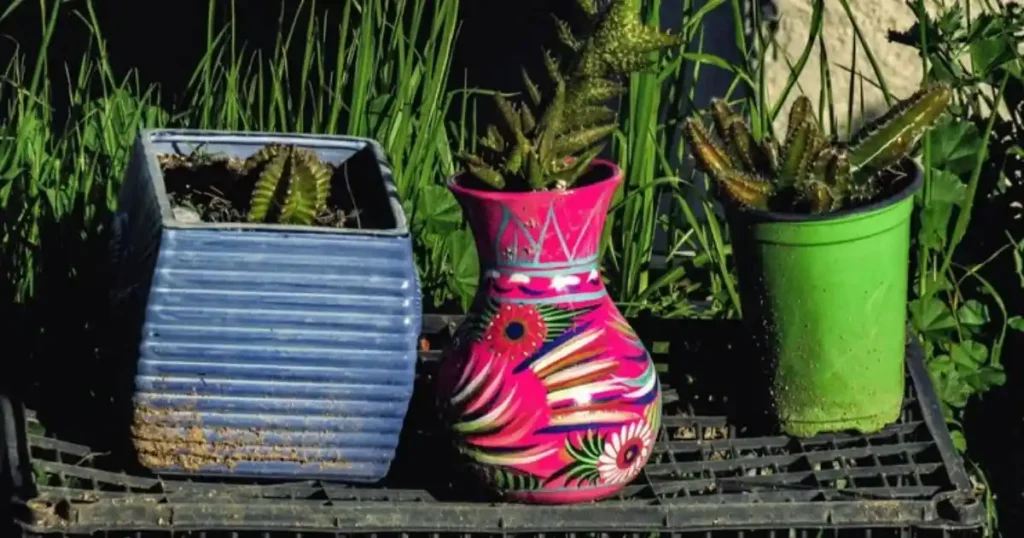
Proper preparation is essential for achieving a smooth and long-lasting finish. Follow these steps:
- Cleaning: Wash the clay pot thoroughly with warm soapy water and a scrub brush to remove any dirt, debris, or mold. Rinse well and let it dry completely.
- Sanding (Optional): If your pot has any rough edges or imperfections, lightly sand them with fine-grit sandpaper. Wipe away any dust after sanding.
- Priming (Optional): Applying a primer can help the paint adhere better to the clay surface and enhance the vibrancy of the colors. Use a primer specifically designed for porous surfaces like terracotta. Apply a thin, even coat and let it dry completely according to the manufacturer’s instructions.
To Paint Clay Pots
Now for the fun part! Here’s a step-by-step guide to painting your clay pots:
- Base Coat: Apply a thin, even coat of your chosen base color. Allow it to dry completely before moving on to the next step. Multiple thin coats are better than one thick coat, as they are less likely to crack or peel.
- Adding Designs: Once the base coat is dry, unleash your creativity! You can use painter’s tape to create stripes, patterns, or geometric designs. Freehand designs, stencils, or stamps can also add a personal touch.
- Layering and Details: Allow each layer of paint to dry completely before applying the next. Use smaller brushes for intricate details and highlights.
- Drying: Let the final coat of paint dry thoroughly, preferably for 24 hours, before sealing.
Sealing Your Painted Clay Pots
Sealing your painted clay pots is crucial for protecting your artwork from the elements and making them waterproof. Here’s how:
- Choose a Sealer: Select a sealant that is suitable for outdoor use and compatible with the type of paint you used. A clear acrylic sealer is a popular choice.
- Apply the Sealer: Apply the sealer in thin, even coats, following the manufacturer’s instructions. Two to three coats are usually recommended for optimal protection.
- Drying: Allow the sealer to dry completely between coats and before using the pot.
DIY Designs for Garden Clay Pots
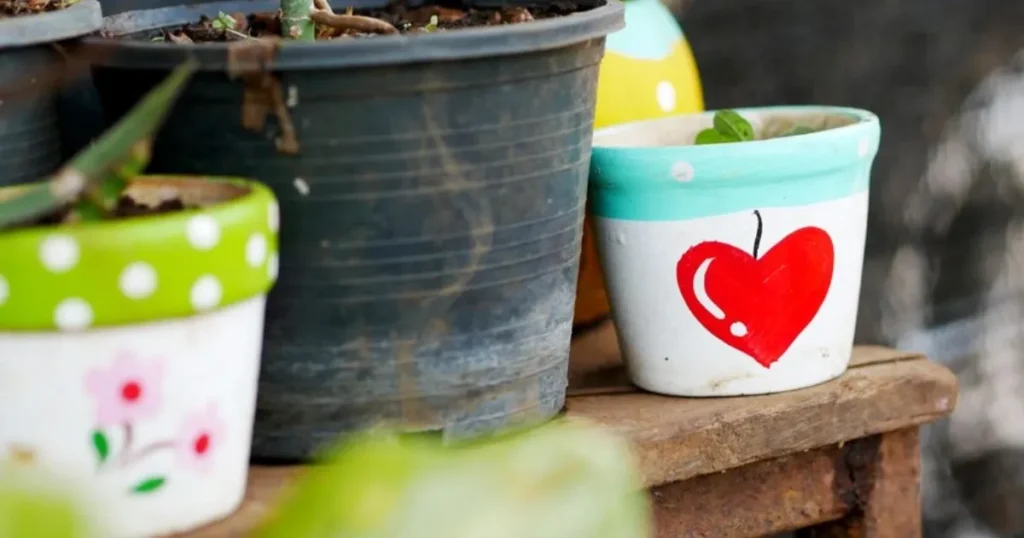
Looking for inspiration? Here are a few DIY design ideas to get you started:
- Geometric Patterns: Use painter’s tape to create stripes, chevrons, or other geometric designs.
- Ombre Effect: Blend different shades of the same color for a gradual color transition.
- Nature-Inspired Motifs: Paint flowers, leaves, birds, or other nature-inspired designs.
- Personalized Messages: Add inspirational quotes, plant names, or your family name.
- Terracotta Pot Painting Techniques: Explore techniques like sponging, dry brushing, or splattering for unique textures.
Conclusion
To paint clay pots is a fun and rewarding way to add a personal touch to your garden. By following the steps outlined in this guide, you can create beautiful and durable painted pots that will enhance your outdoor space for years to come.
Remember to choose the right paint and sealer for outdoor use to paint clay pots, and don’t be afraid to experiment with different designs and techniques.
Whether you’re crafting unique designs or making your pots weatherproof, these techniques ensure a successful project. Start painting today to transform your garden into a vibrant masterpiece! Happy painting!
FAQs
Here are answers to some frequently asked questions about painting clay pots for gardening:
Can you paint clay pots with acrylic paint?
Yes, acrylic paint is an excellent choice for painting clay pots. It is durable, versatile, and readily available.
What kind of paint do you use on clay pots?
Besides acrylics, you can also use outdoor acrylic paints, chalk paints, or spray paints specifically designed for outdoor use on clay pots.
Do you need to seal clay pots after painting?
Yes, sealing your painted clay pots is highly recommended. It protects the paint from water damage, fading, and chipping, ensuring your artwork lasts longer.
How do you prepare clay pots for painting?
Clean the pot thoroughly with soapy water, allow it to dry, and optionally sand any rough edges. You can also apply a primer to improve paint adhesion.
How do you paint terracotta pots for plants?
The process is the same as painting any other clay pot. Ensure the pot is clean and dry, apply your chosen paint in thin coats, and seal it for protection.
