A garden sprayer can be an invaluable tool for any gardener, whether you’re tackling weeds, fertilizing your lawn, or protecting your plants from pests.
But with various types available and important safety considerations, knowing how to use a garden sprayer correctly is essential.
This guide provides a step-by-step approach to ensure you get the most out of your sprayer while keeping yourself and your garden safe.
Understanding Your Garden Sprayer
Before you start spraying, it’s important to familiarize yourself with the different parts of your garden sprayer. Although specific designs may vary, most sprayers include the following components:
- Tank: This is where you hold the liquid solution you’ll be spraying.
- Pump: This creates pressure within the tank to propel the liquid through the hose and nozzle.
- Hose: This connects the tank to the wand and allows you to direct the spray.
- Wand: This extends your reach and allows for more precise application.
- Nozzle: This controls the pattern and intensity of the spray.
- Handle: This allows you to carry and operate the sprayer comfortably.
Types of Garden Sprayers Available for Home Use
Garden sprayers come in various types, each with its own advantages and best-suited applications. Here are some of the most common types you might find:
- Handheld Sprayers: These are small, portable sprayers ideal for spot-treating small areas or individual plants. They’re great for applying insecticides, herbicides, and fungicides.
- Pump Sprayers: These versatile sprayers are suitable for various tasks, from applying pesticides to fertilizing plants. They come in different sizes, making them suitable for both small and large gardens. You might even use a pump sprayer for stain application on fences or decks.
- Backpack Sprayers: These larger capacity sprayers are ideal for covering larger areas. They distribute the weight evenly across your back, making them more comfortable to use for extended periods.
- Hose-End Sprayers: These attach directly to your garden hose and draw the solution from a container. They’re convenient for applying fertilizers and pesticides to lawns and larger garden beds.
- Pressure Sprayers: These sprayers use compressed air to create pressure, allowing for a continuous and consistent spray. They’re suitable for applying various liquids, including herbicides, insecticides, and cleaning solutions.
Preparing Your Garden Sprayer for Use
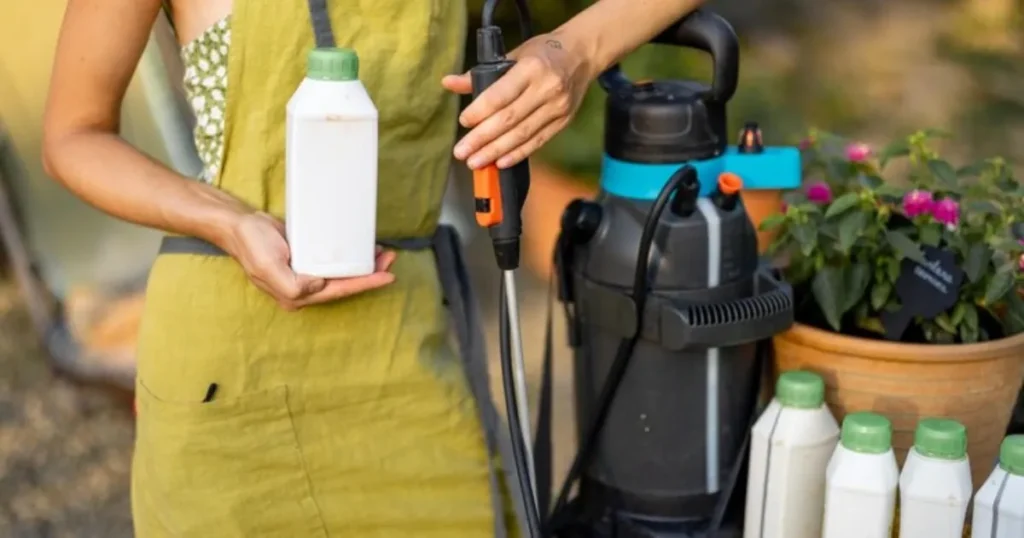
Proper preparation is crucial before using your garden sprayer to ensure its effectiveness and longevity.
- Read the Manual: Always start by reading the manufacturer’s instructions for your specific sprayer model. This will provide valuable information about its assembly, operation, and maintenance.
- Check for Damage: Inspect the sprayer for any signs of damage, such as cracks, leaks, or loose parts. If you find any issues, address them before proceeding.
- Assemble the Sprayer: If your sprayer requires assembly, follow the manufacturer’s instructions carefully. Ensure all connections are secure to prevent leaks.
- Choose the Right Nozzle: Select the appropriate nozzle for the task. Nozzles come in various spray patterns, such as cone, fan, and stream, each suited for different applications. You can adjust the spray nozzle to achieve the desired coverage and intensity.
- Add Water: Fill the tank with clean water, leaving some space for the solution you’ll be adding. This helps prevent spills and ensures proper mixing.
Correct Way to Mix Chemicals in a Garden Sprayer
If you’re using your garden sprayer to apply chemicals, it’s crucial to mix them correctly to ensure their effectiveness and prevent damage to your plants.
- Read the Label: Always follow the instructions on the chemical label carefully. This will provide information on the correct mixing ratios and any specific safety precautions.
- Measure Carefully: Use measuring cups and spoons to ensure accurate measurements. Avoid guessing or eyeballing the amounts, as this can lead to improper concentrations.
- Mix in a Separate Container: It’s best to mix the chemical solution in a separate container before adding it to the sprayer tank. This helps prevent spills and ensures thorough mixing.
- Add to the Tank: Once the chemical is properly mixed, carefully pour it into the sprayer tank. Avoid splashing or spilling the solution.
- Top Up with Water: Add the remaining water to the tank, leaving some space at the top to allow for pressure buildup.
- Agitate the Tank: Close the lid tightly and gently shake or agitate the tank to ensure the solution is evenly mixed.
Using Your Garden Sprayer
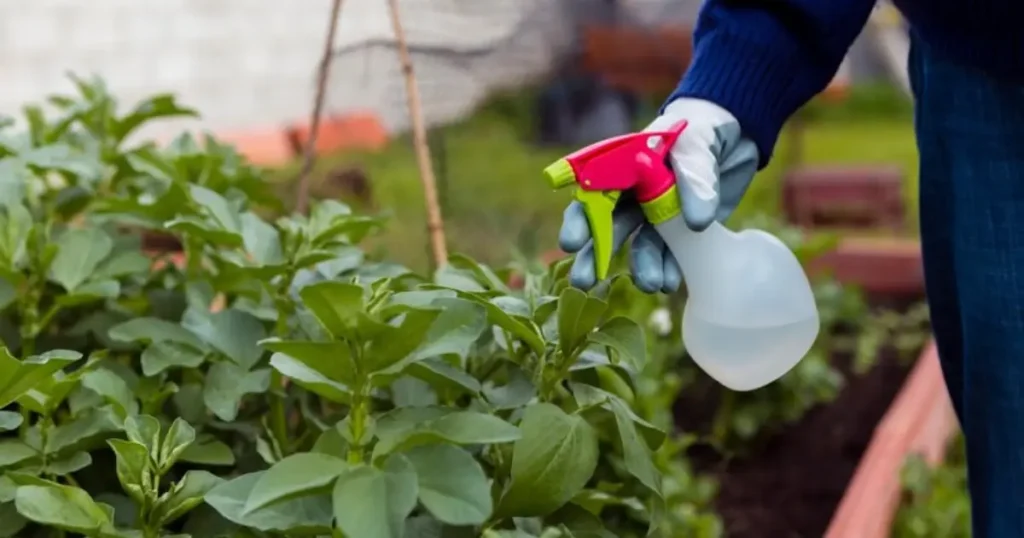
With your sprayer prepared and the solution mixed, you’re ready to start spraying.
- Test the Sprayer: Before heading to your garden, test the sprayer in a safe area to ensure it’s working correctly and the spray pattern is as desired.
- Apply Evenly: When spraying, move the wand steadily and maintain a consistent distance from the target area. This helps ensure even coverage and prevents over-application.
- Avoid Overlap: Overlapping spray patterns can lead to excessive application and potential damage to your plants.
- Monitor the Pressure: Keep an eye on the pressure gauge, if your sprayer has one. Adjust the pumping or pressure release valve as needed to maintain consistent pressure.
- Be Mindful of Wind: Avoid spraying on windy days, as the wind can carry the spray to unintended areas.
Safety Precautions to Follow When Using a Garden Sprayer
Using a garden sprayer involves handling chemicals that can be harmful if not used responsibly. Always prioritize safety by following these precautions:
- Wear Protective Gear: Always wear appropriate protective gear, including gloves, eye protection, and a mask, especially when handling chemicals.
- Spray in Well-Ventilated Areas: Avoid spraying in enclosed spaces or areas with poor ventilation.
- Keep Children and Pets Away: Ensure children and pets are kept away from the spraying area while you’re working and until the solution has dried.
- Avoid Contact with Skin and Eyes: If the solution comes into contact with your skin or eyes, rinse thoroughly with water and seek medical attention if necessary.
- Store Chemicals Safely: Store any leftover chemicals in their original containers, clearly labeled and out of reach of children and pets.
Cleaning a Garden Sprayer After Use
Proper cleaning is essential after each use to prevent clogging, corrosion, and cross-contamination.
- Empty the Tank: Empty any remaining solution from the tank and rinse it thoroughly with clean water.
- Clean the Nozzle and Wand: Remove the nozzle and wand and clean them separately with water and a brush to remove any residue.
- Flush the Hose: Attach the hose to a water source and flush it with clean water to remove any remaining solution.
- Clean the Tank: Fill the tank with clean water and add a small amount of dish soap. Pump the sprayer to circulate the soapy water throughout the system.
- Rinse Thoroughly: Empty the tank and rinse it repeatedly with clean water until all traces of soap are gone.
- Dry the Sprayer: Allow the sprayer to air dry completely before storing it.
Using Garden Sprayers for Organic Gardening
Garden sprayers can be valuable tools for organic gardening, allowing you to apply homemade or organic pest control solutions, fertilizers, and foliar feeds. Ensure your sprayer is thoroughly cleaned before using it for organic applications to avoid any cross-contamination with synthetic chemicals.
Common Problems with Garden Sprayers and How to Fix Them
Garden sprayers, like any equipment, can experience occasional problems. Here are some common issues and troubleshooting tips:
- Clogged Nozzle: If the spray pattern is uneven or weak, the nozzle might be clogged. Remove the nozzle and clean it with water and a small brush or pin.
- Leaking Hose: Check the hose connections for tightness. If the hose itself is leaking, you may need to replace it.
- Low Pressure: Ensure the tank is adequately pressurized. Check for any leaks in the tank or hose connections that might be causing pressure loss.
- Pump Not Working: If the pump isn’t building pressure, check for any blockages or damage to the pump mechanism. You may need to disassemble and clean the pump or replace it if it’s damaged.
Conclusion
A garden sprayer is a versatile and valuable tool for any gardener. By understanding the different types of sprayers, preparing them correctly, mixing chemicals accurately, and following safety precautions, you can use your sprayer effectively to maintain a healthy and thriving garden.
Remember to clean your sprayer thoroughly after each use and address any common problems promptly to ensure its longevity and optimal performance.
With proper care and usage, your garden sprayer will be a reliable companion in your gardening endeavors for years to come.
FAQs about Using Garden Sprayers
Some of the frequently inquired questions about the effective usage of garden sprayers are as follow:
How to Use Garden Spray Bottle
Garden spray bottles are simple to use. Fill the bottle with your desired solution, screw on the spray head, and pump the handle to create pressure. Aim the nozzle at your target and press the trigger to release the spray.
How to Use a Pressure Sprayer
Pressure sprayers typically have a pump handle to build up pressure in the tank. Once pressurized, you can use the wand and nozzle to direct the spray. Remember to release pressure from the tank after use for safety.
How to Use a Garden Sprinkler
Garden sprinklers come in various types, including oscillating, rotating, and stationary. Connect the sprinkler to your garden hose and adjust the spray pattern and coverage as needed.
How to Use a Pump Sprayer
Pump sprayers require manual pumping to create pressure. Fill the tank with your solution, attach the lid securely, and pump the handle until you feel resistance. Use the wand and nozzle to apply the spray.
How to Use a Pump Sprayer for Stain
You can use a pump sprayer to apply stain to fences, decks, and other outdoor surfaces. Choose a sprayer specifically designed for thicker liquids and clean it thoroughly after use.
